

")


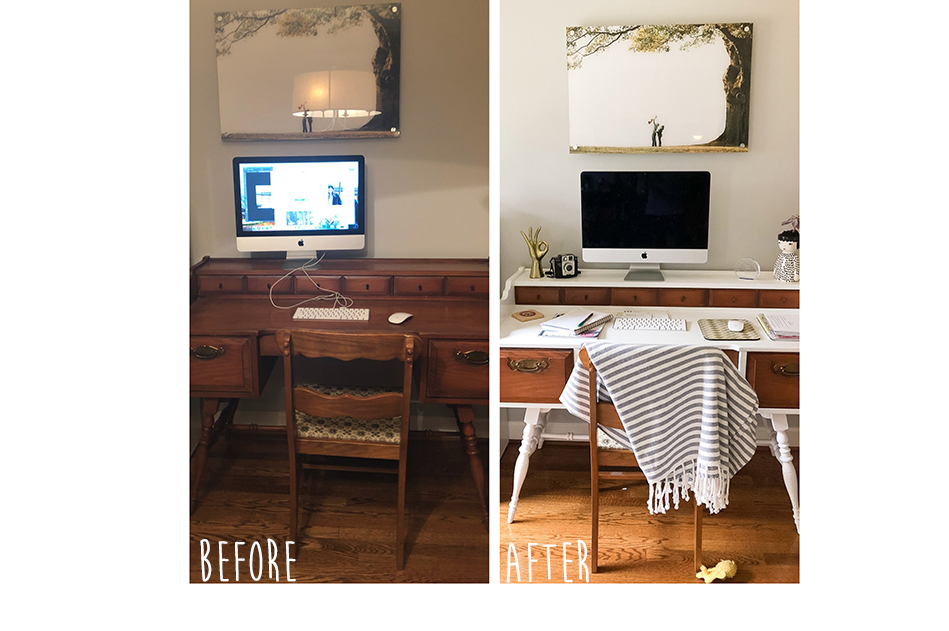
If you know me at all, you know I’m not the most talented in the crafting department. BUT I love a good makeover and I needed to be thrifty if I wanted a new desk. Thus the Craigslist hunt began and I found this diamond in the rough.
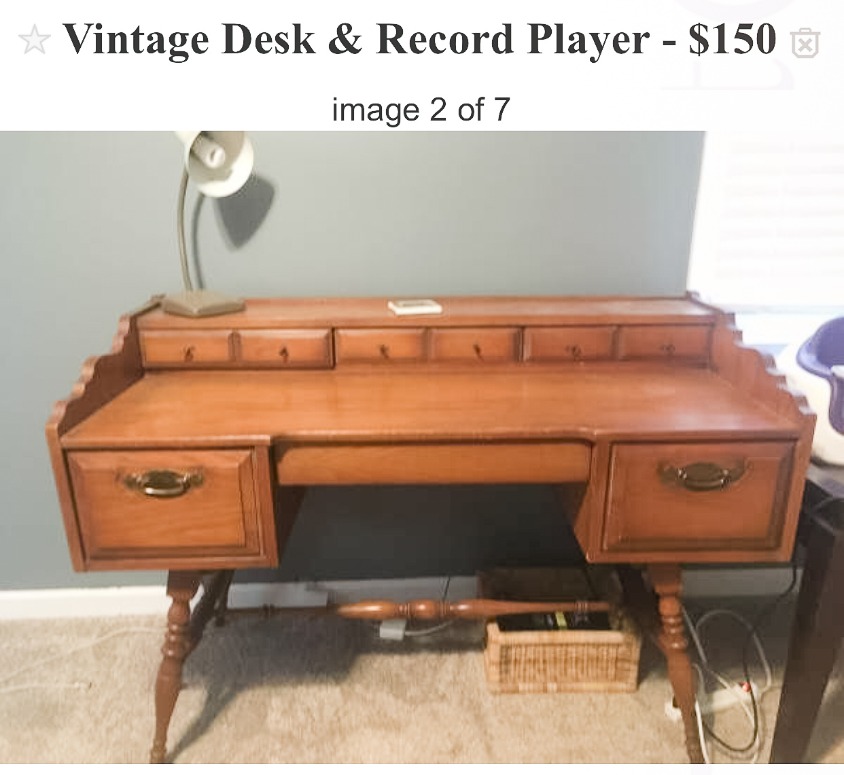
I fell in love with her scallop sides, gorgeous legs and two tier height. I could see her potential and wanted to show her some love. I purchased this mainline Hooker piece and the chair for a huge bargain at $50. I’ve never really painted anything before (besides a few spray paint fails!) so I was terrified I would mess it up. However, I learned if I trusted myself and did a little research on Pinterest and blogs then I could do it. I will walk you through step by step what I did so you can feel equipped to take on your next project too.
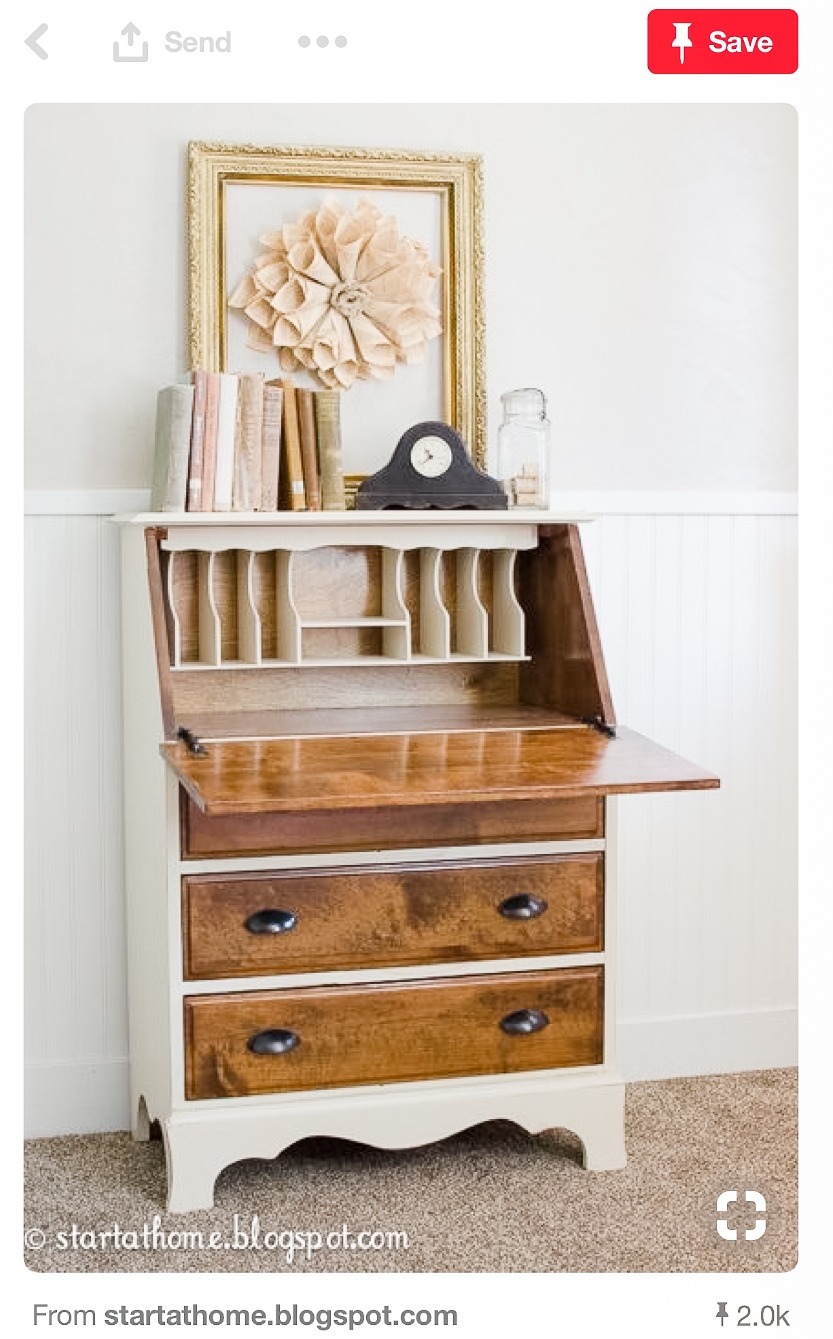
First step was to look around on Pinterest to gather ideas on possible color choices. I’m not super into the chalk paint finish so I knew right away I wanted to try something different with a lot of shine. What can I say? I like shiny things. This led me to Benjamin Moore Advance in high gloss. I chose “Decorator’s White” because it is a tried and true color according to many of the design books and blogs I follow. I was not disappointed.
My inspiration:
After I narrowed down the look I wanted to achieve I went over to our neighborhood hardware store, Blackhawk Hardware, and asked for help from one of their sale’s associates in the paint department. He was amazing and dedicated like 20 minutes to helping me. I showed him the before photo and the after I wanted to achieve. I was juggling both kids who refused to stay in their stroller so he walked me through multiple aisles and put everything I needed into a cart for me.
Supply list:
tact paper
drop cloth
sandpaper block
1 quart of paint
1 quart or spray can of BIN Primer, Sealer, & Stain Killer
a trim painbrush
small trim foam roller
latex gloves
Please ignore my messy garage in the following photos. It has never been organized and likely never will be. HA!
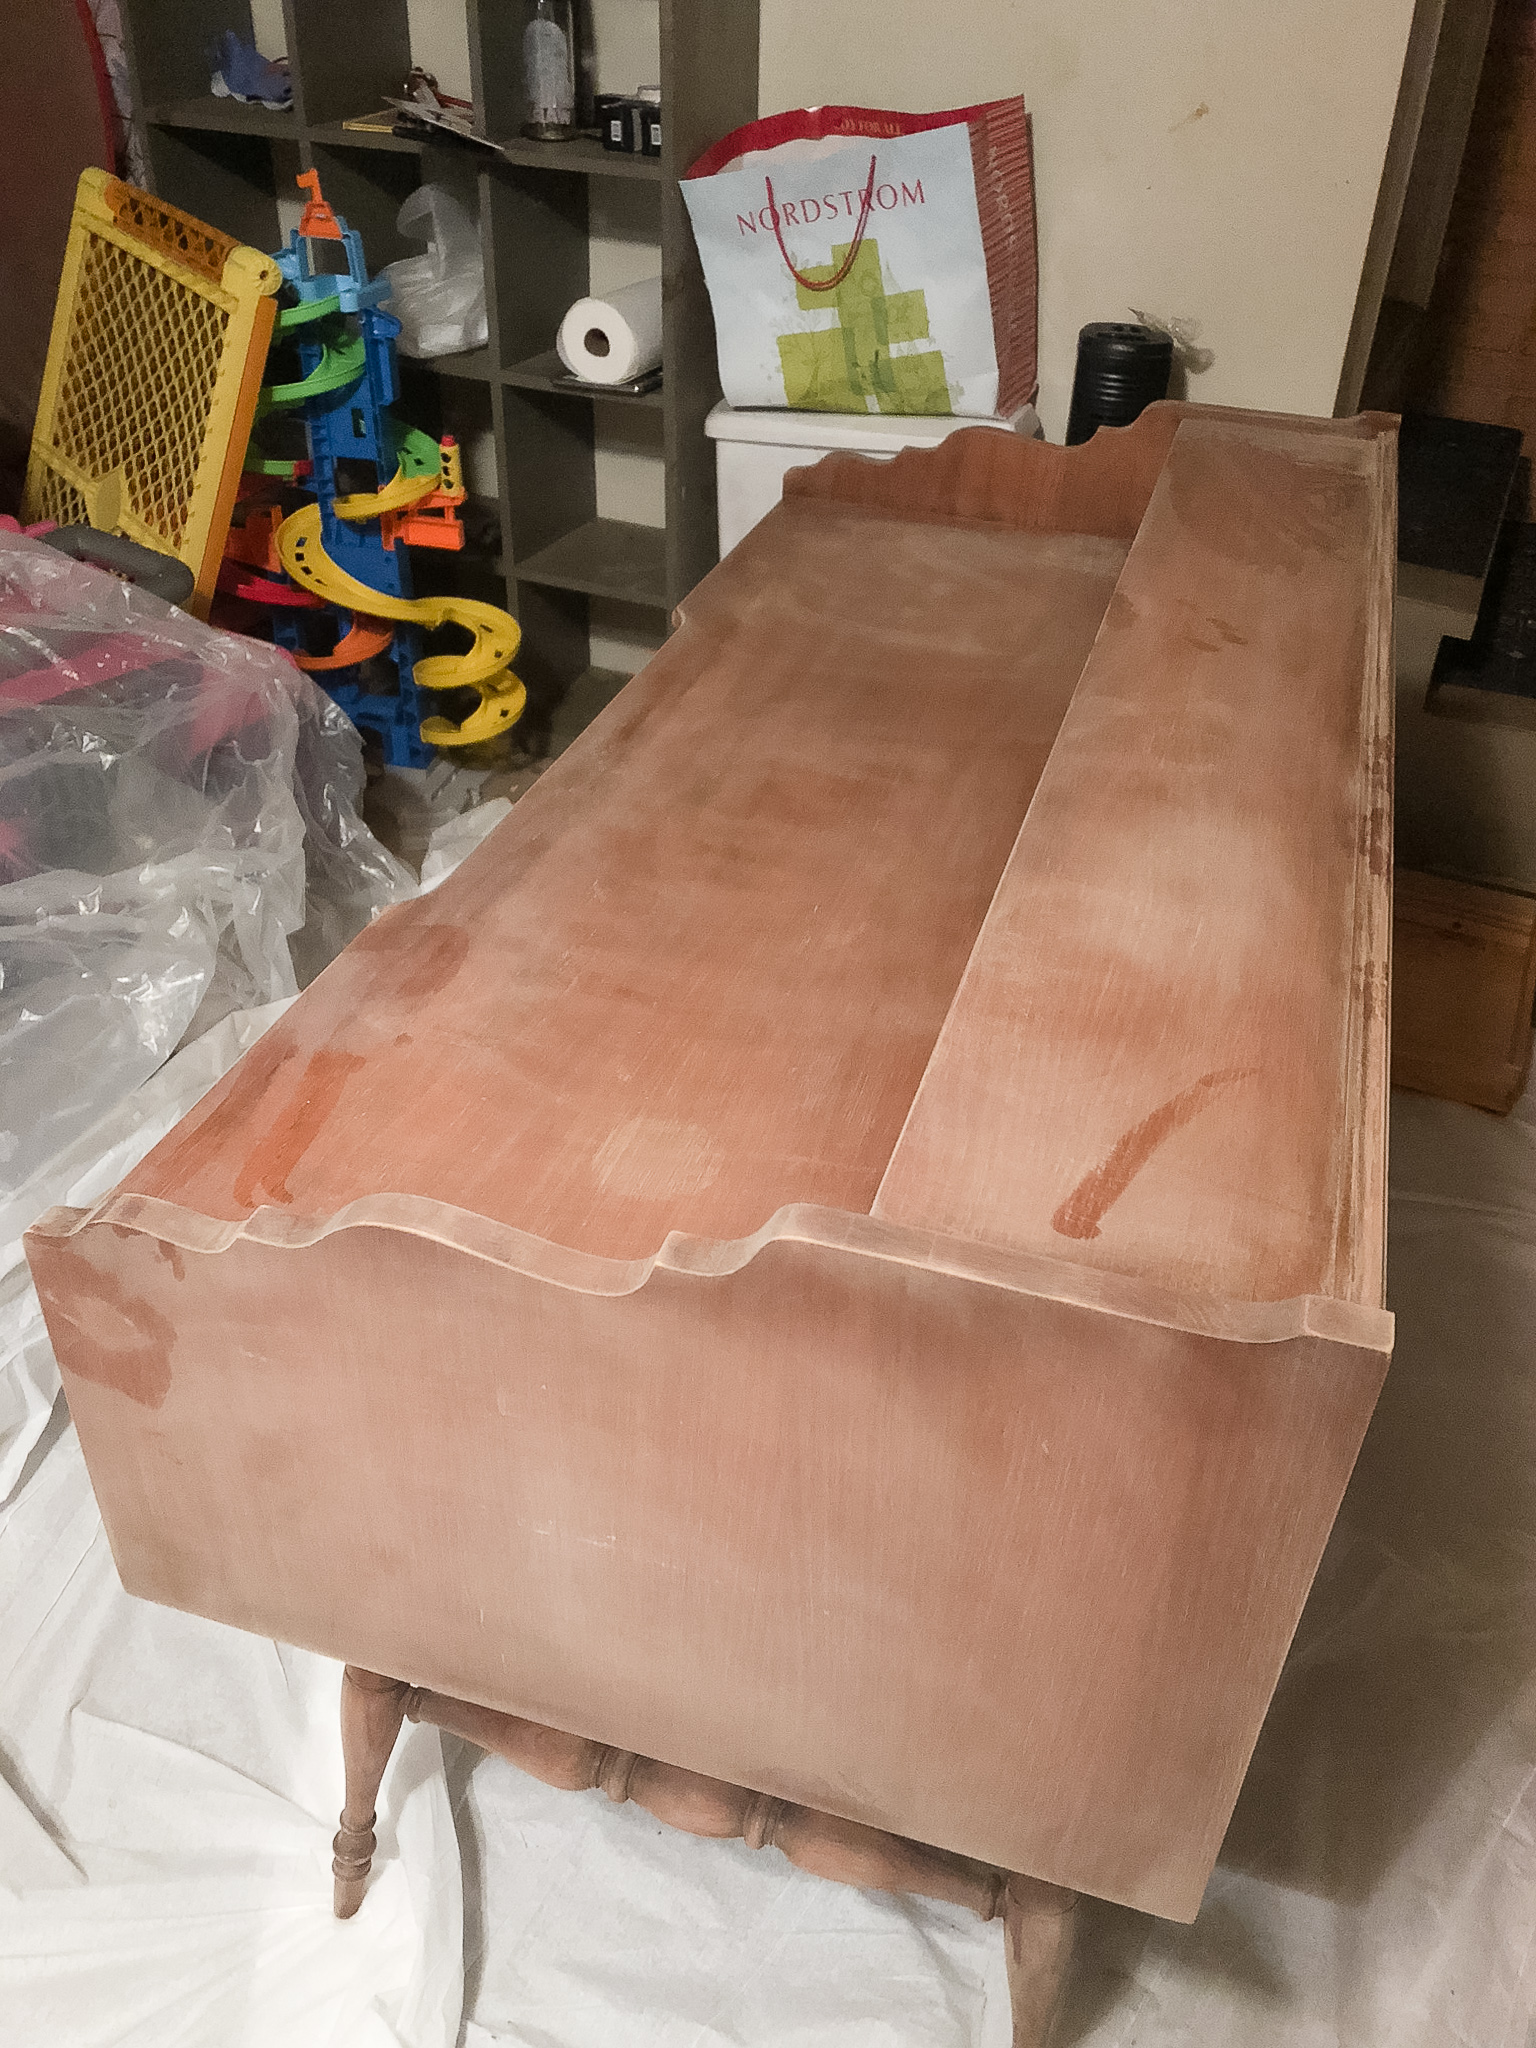
Third step is to lightly sand the entire piece. This should take no more than 15 minutes or so. You only want to take off the first layer until it has a matte like finish. Rub the tact cloth over the entire piece to remove the dust.
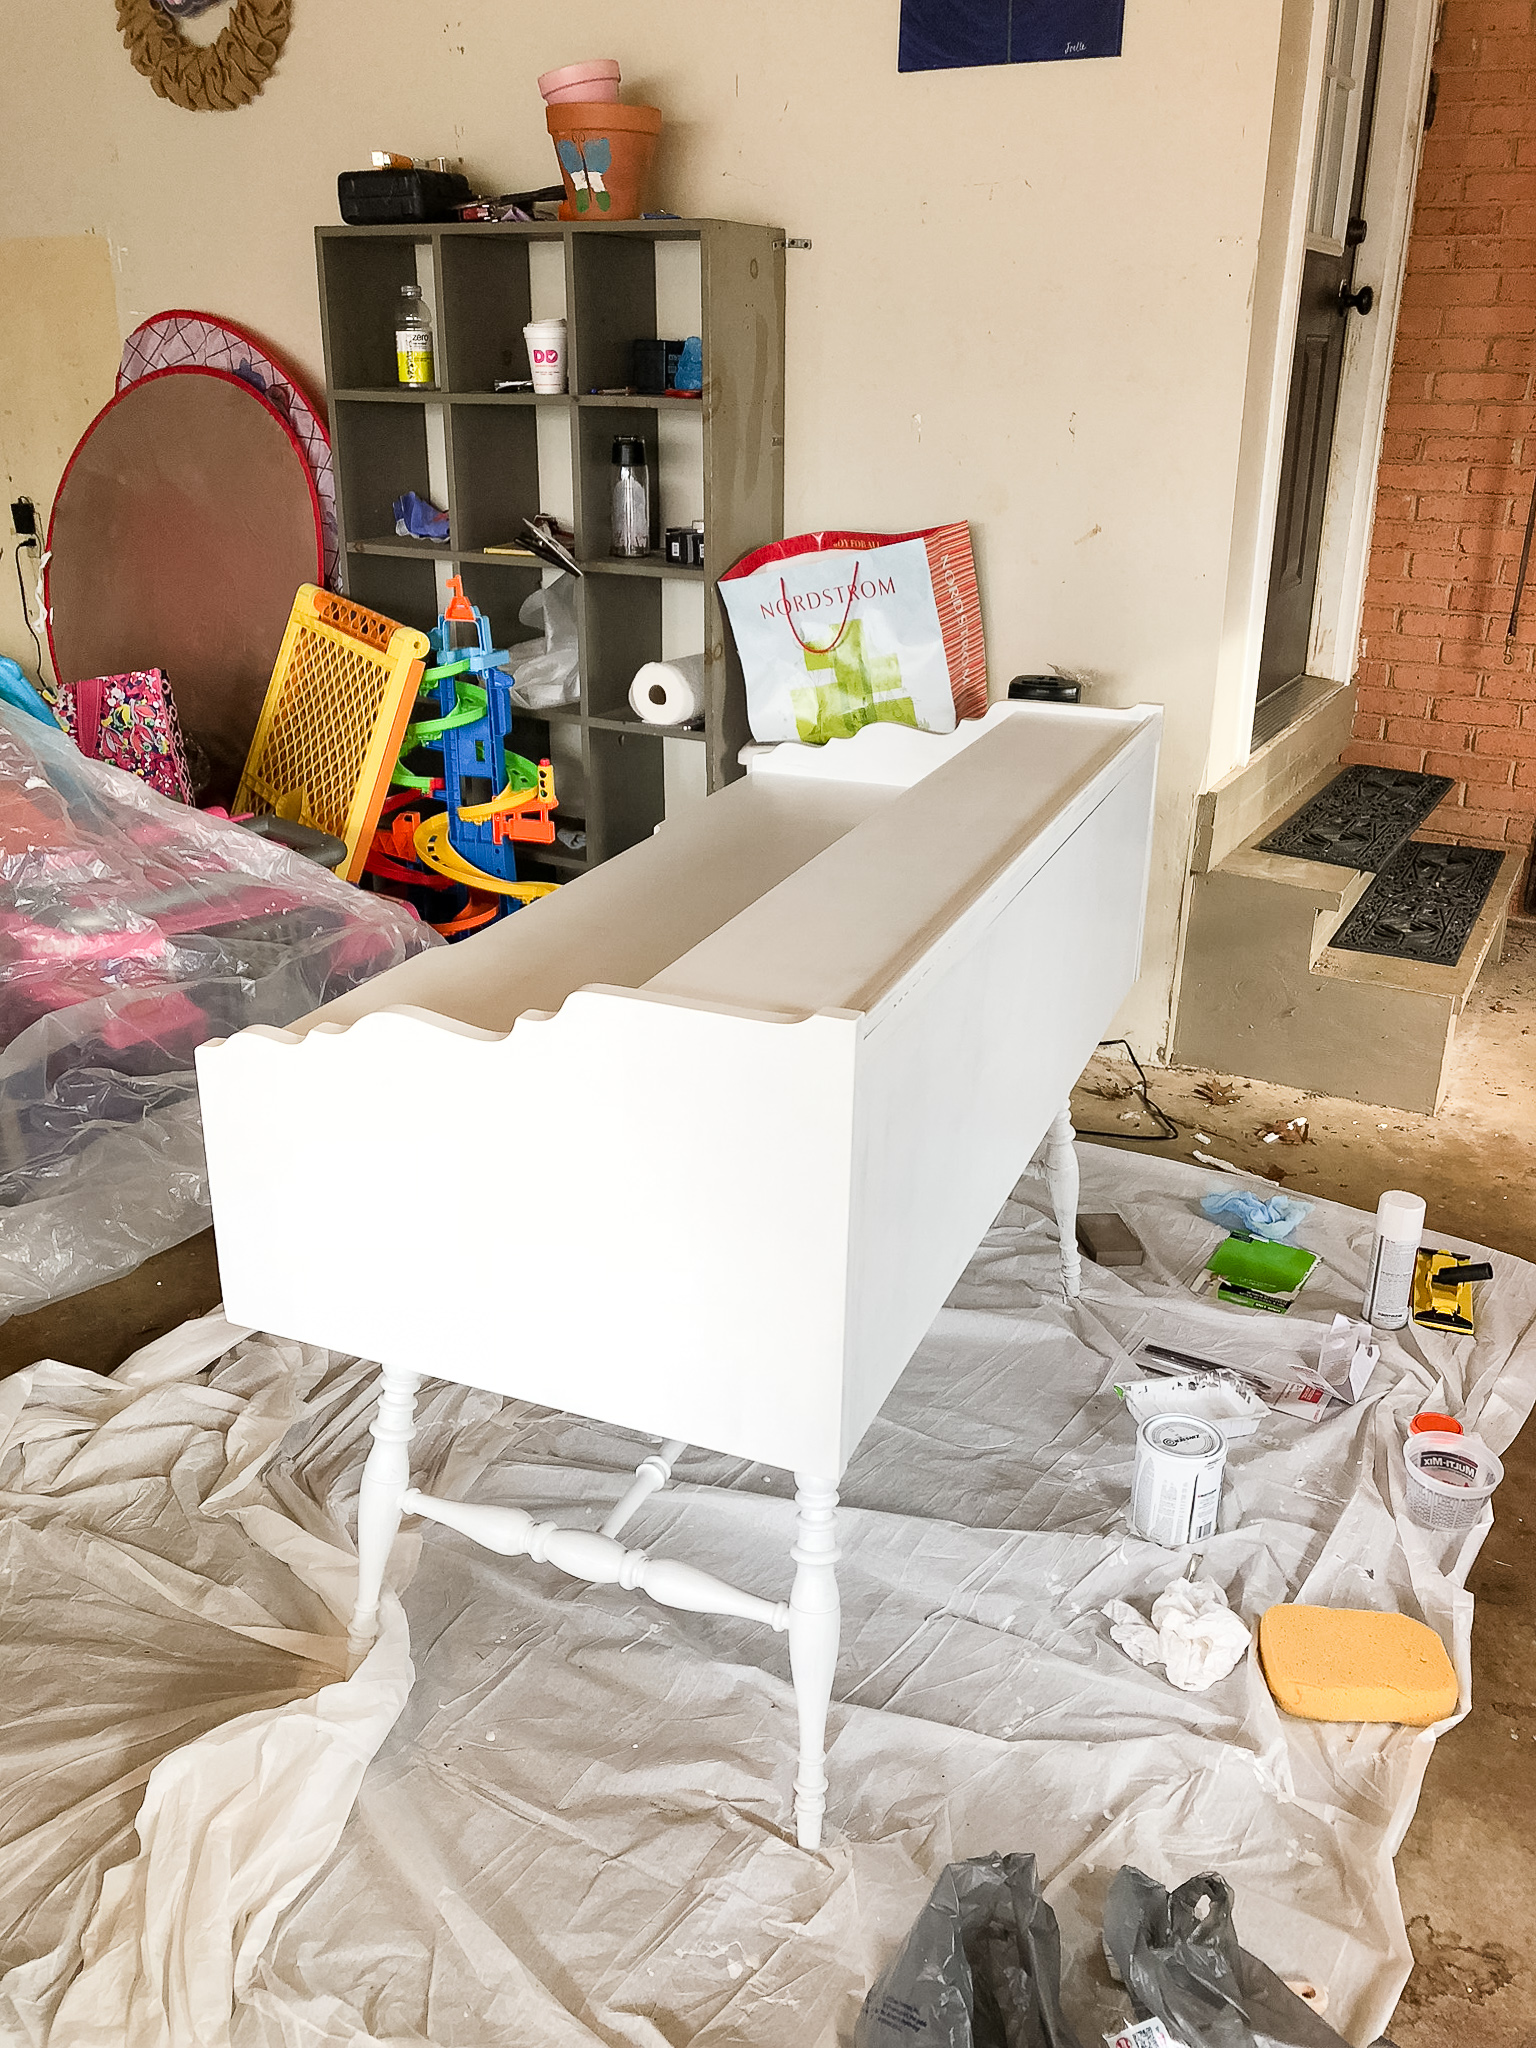
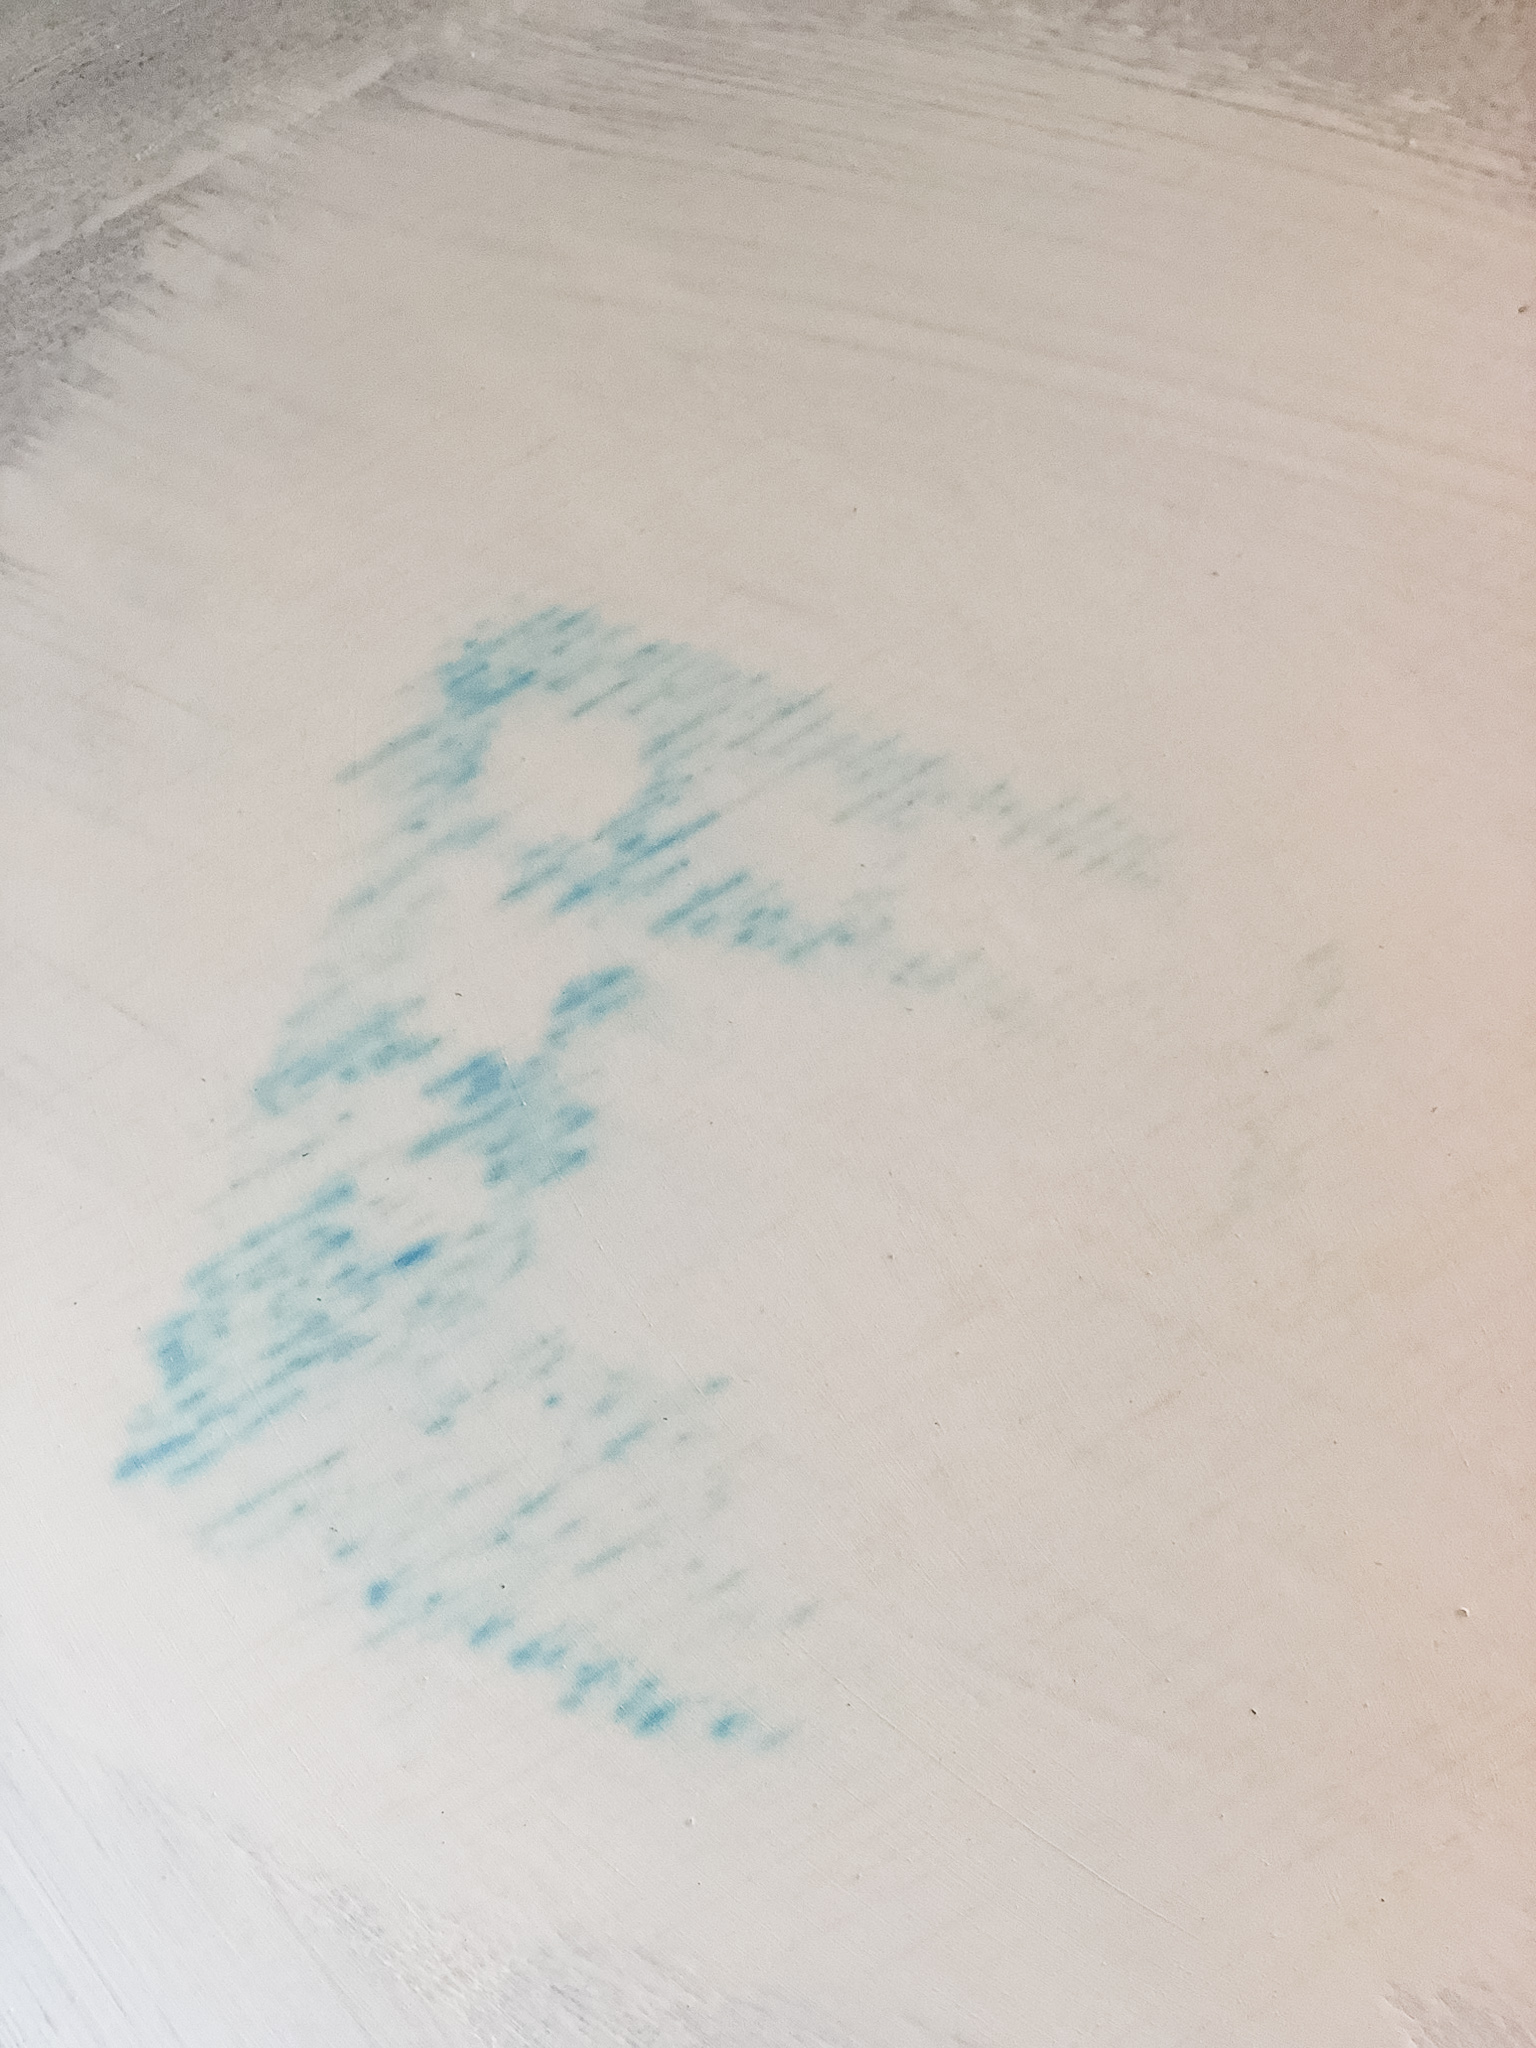
Fourth step is to prime the entire piece in a well ventilated area. I would highly recommend doing this step outside as the primer has very strong fumes. After my first layer of primer I realized the ink stain the seller had warned me about was going to be a little bit more pesky to cover up than I thought. I did a few google searches and learned that B-I-N Shellac primer has stain fighting powers and should do the trick. I found it in a spray can at Lowe’s. I really liked the smoothness of the spray and used it on the entire piece as the second layer of primer to help cover the old wood grain.
Lightly sand the piece again and wipe with the tact cloth. I took the project inside at this point because the paint wasn’t supposed to reach a temperature below 40 degrees. I let my overhead fan run for several days while the layers of paint were drying. For extra ventilation, I also opened the windows during the day and while I was painting.
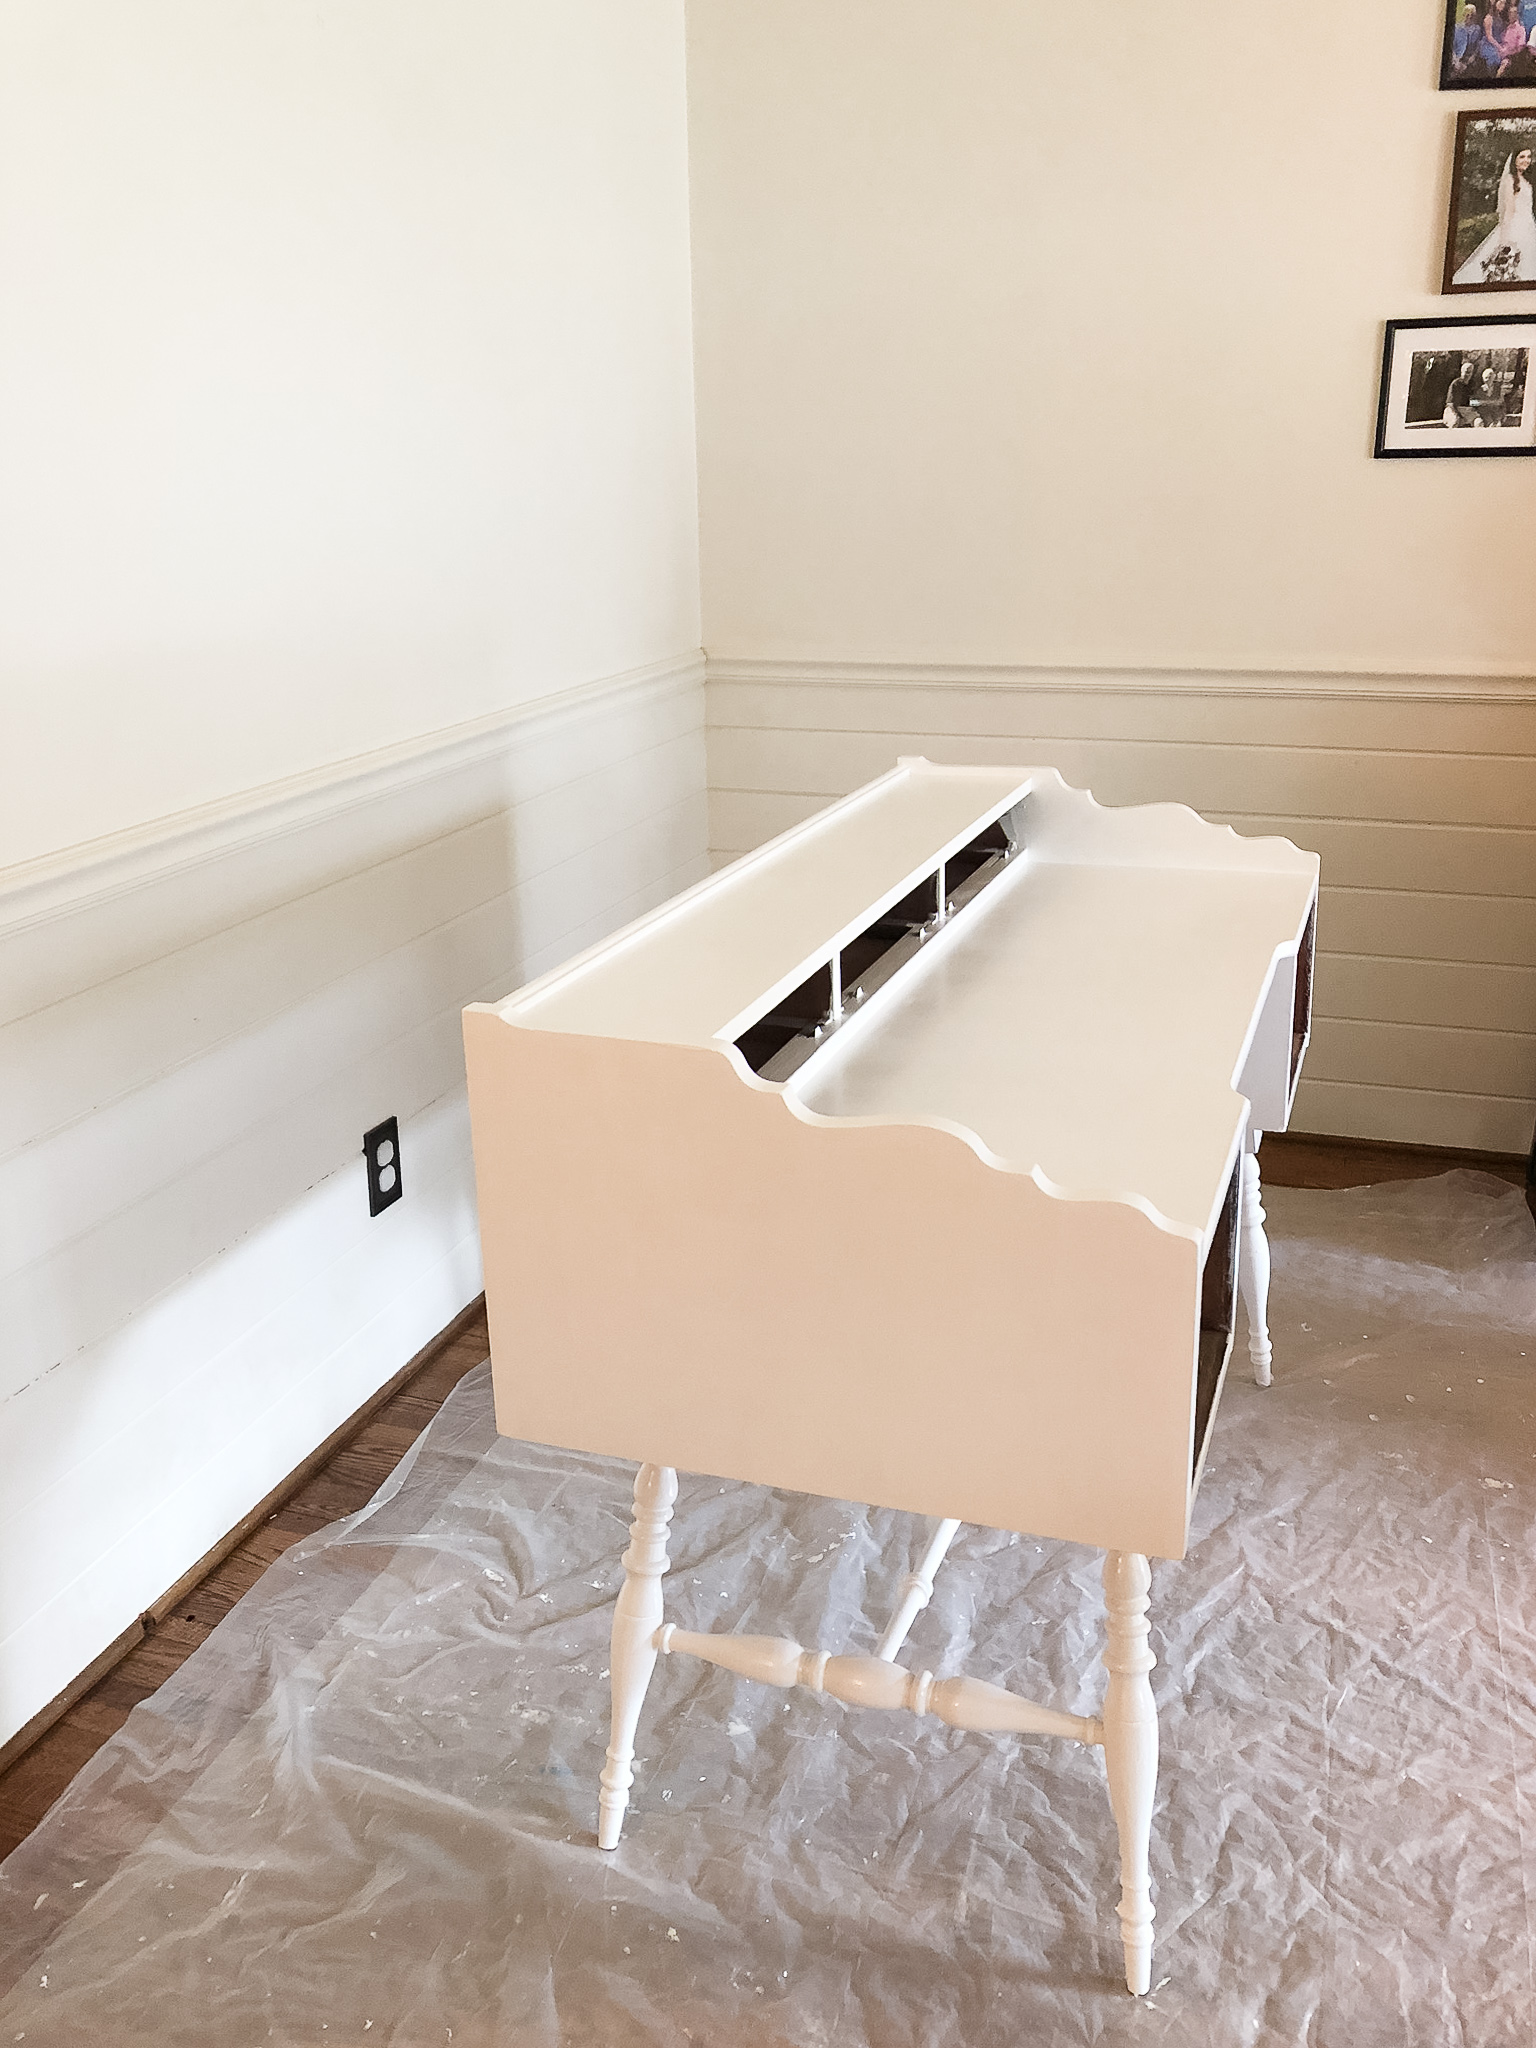

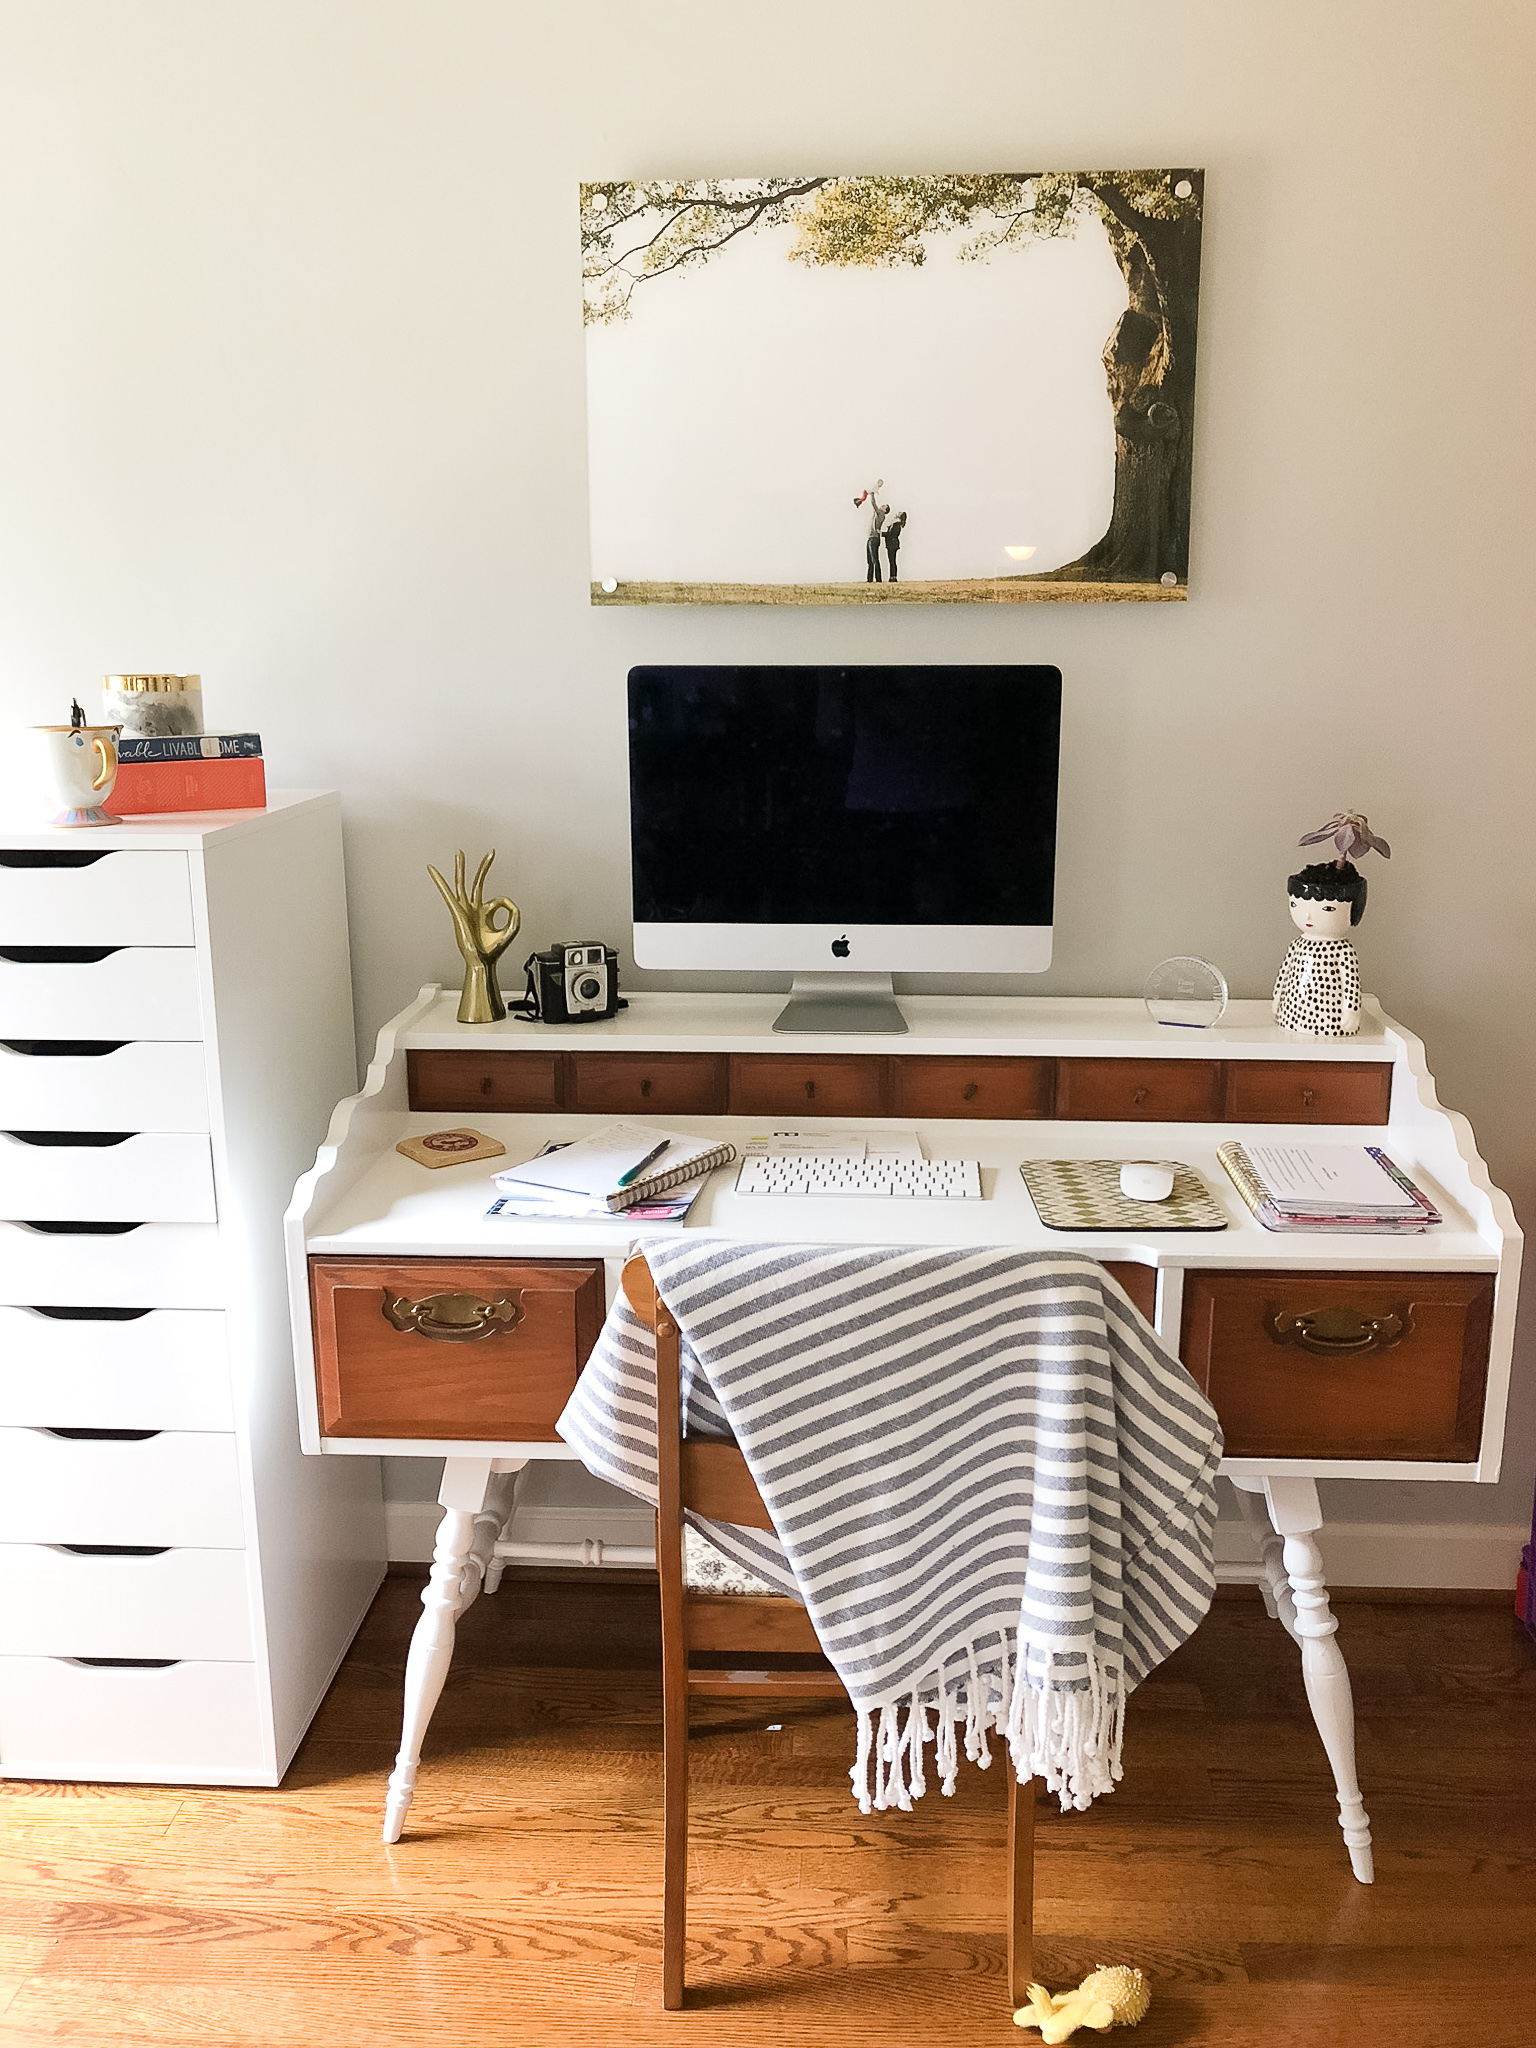
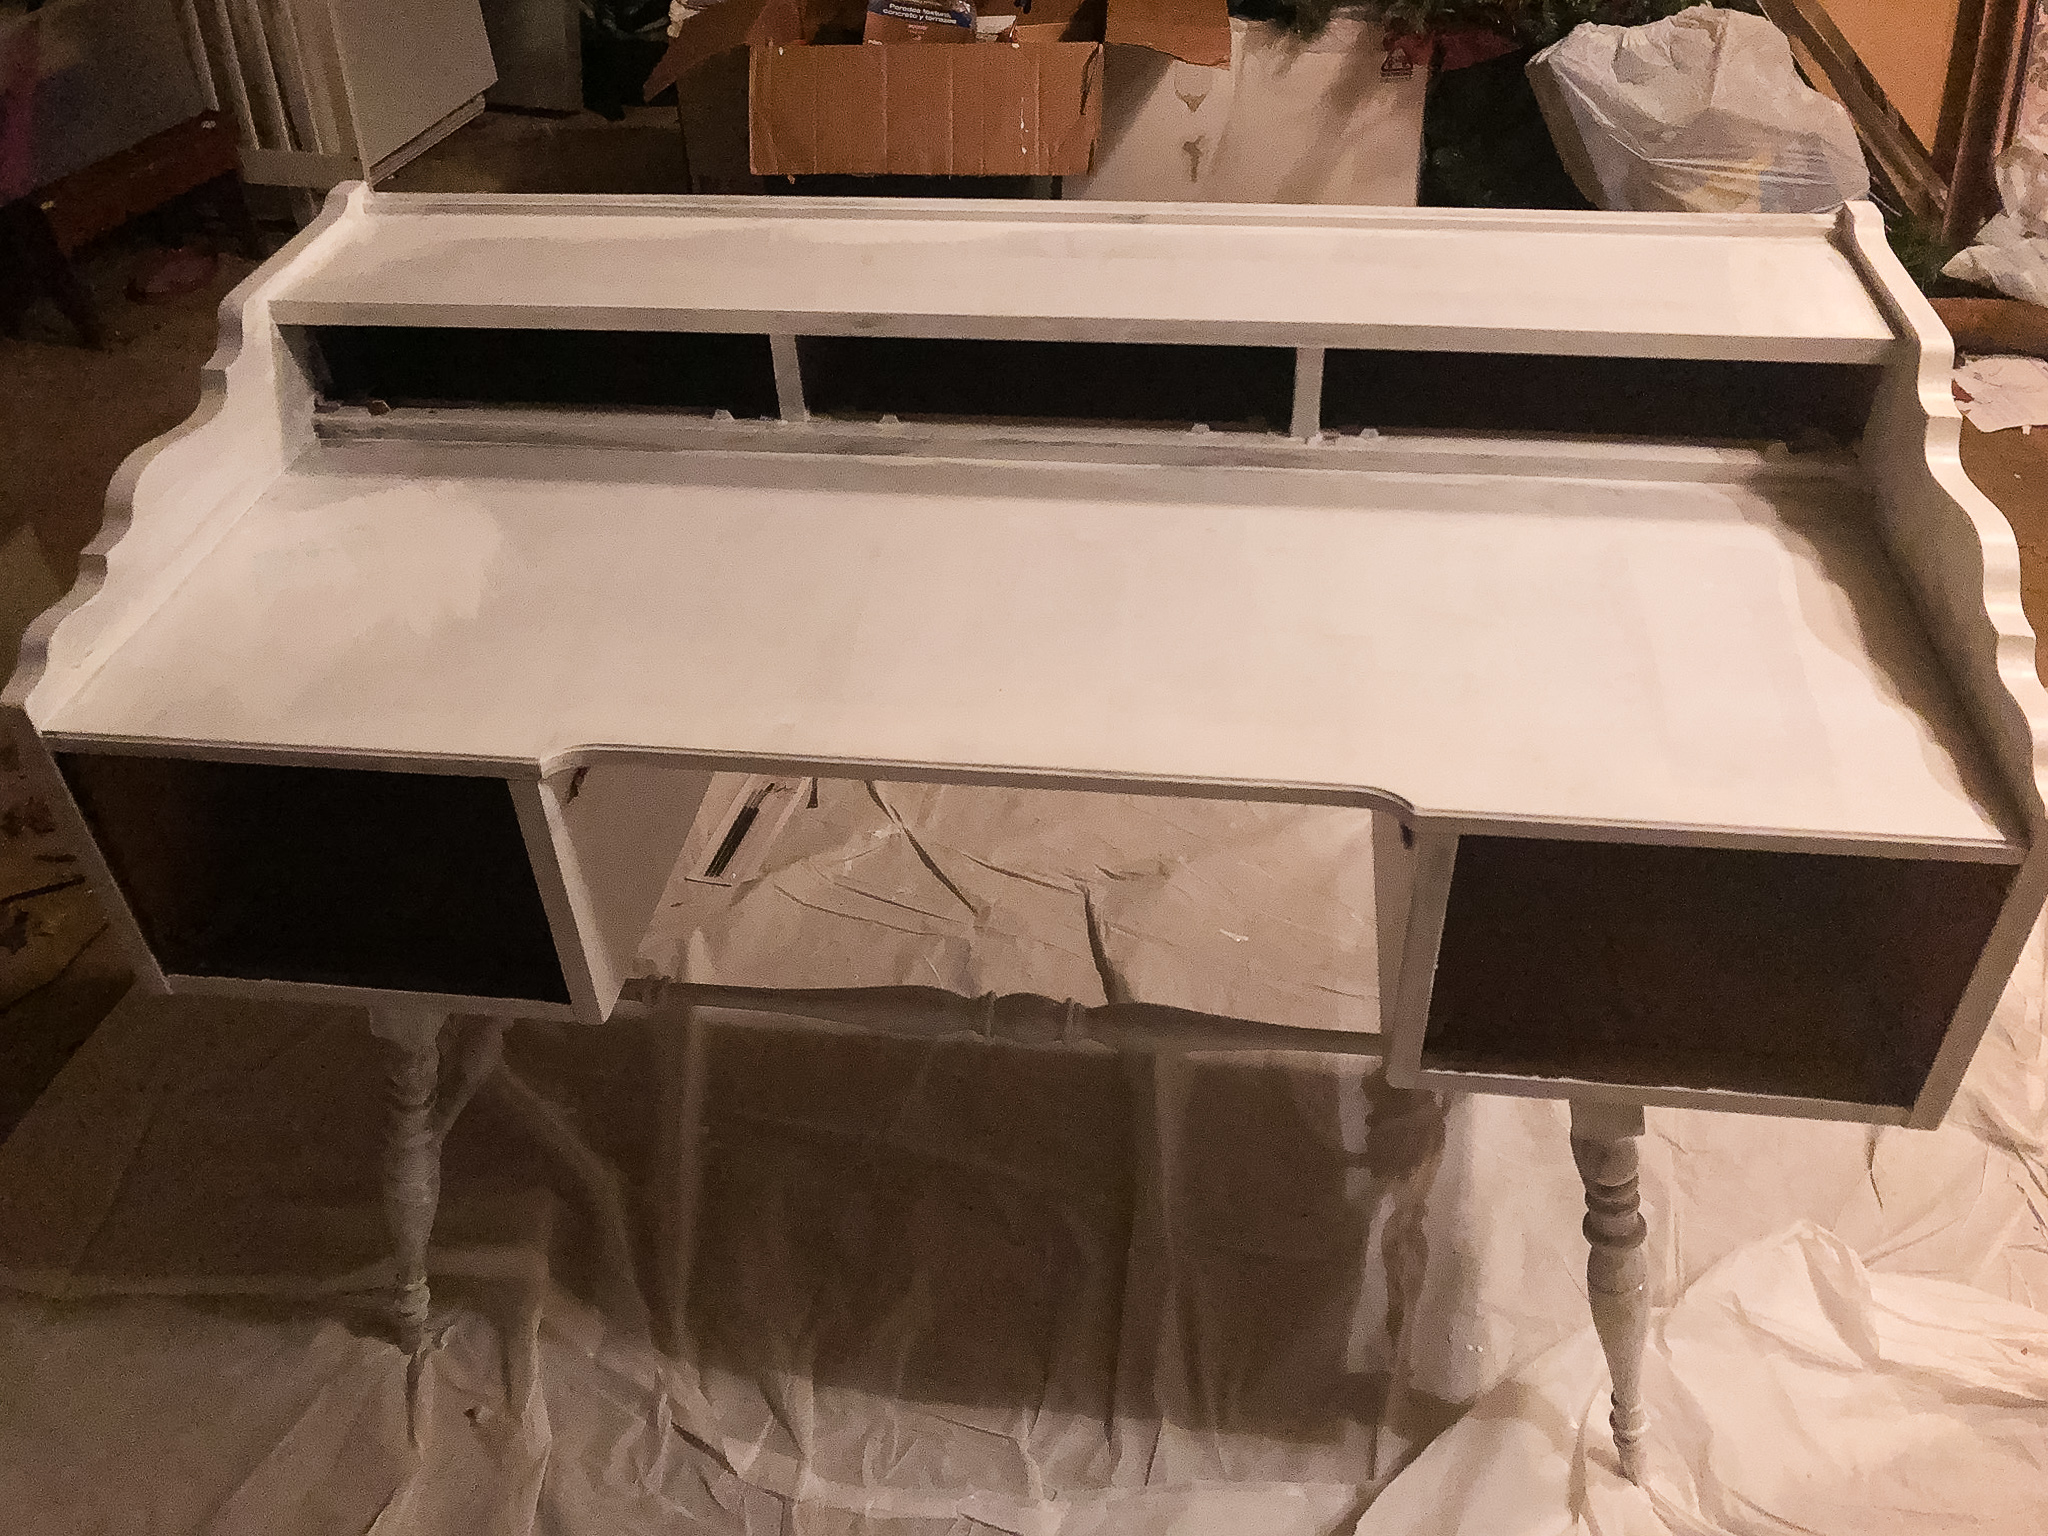
Isn’t she beautiful? At this point I couldn’t wait to see the two tone effect with the drawers. I let the first coat dry for 16 hours and then painted a very light second coat. I let it cure for 3 days before moving into its final location.

I personally love the two tone look but realize it might not be for everyone. I wanted to honor the vintage piece by keeping some of it original and felt two tone was the best way. I chose not to seal it because the paint associate told me it was a premium paint that should seal be ok without it. I may go back later and do it but was too excited at this point to wait another few days for that set too.
Your turn! Show your paint who’s boss!


Be the first to comment